This article describes the installation process of Oracle Linux 7.1 on VM. Installation process will be same for any version of Linux 7.
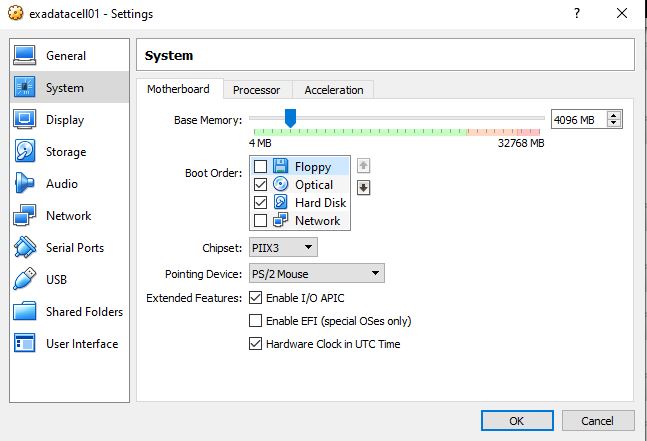
Change booting option and optical should be the 1st priority to boot from disk.
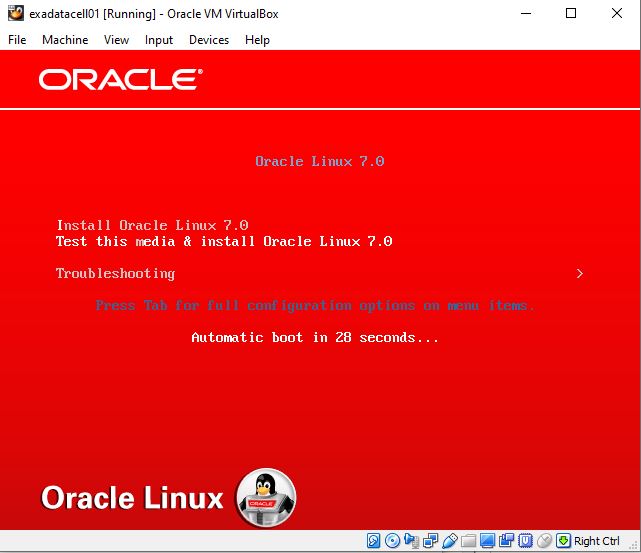
Select ‘Install Oracle Linux 7.0’ Option from the list.
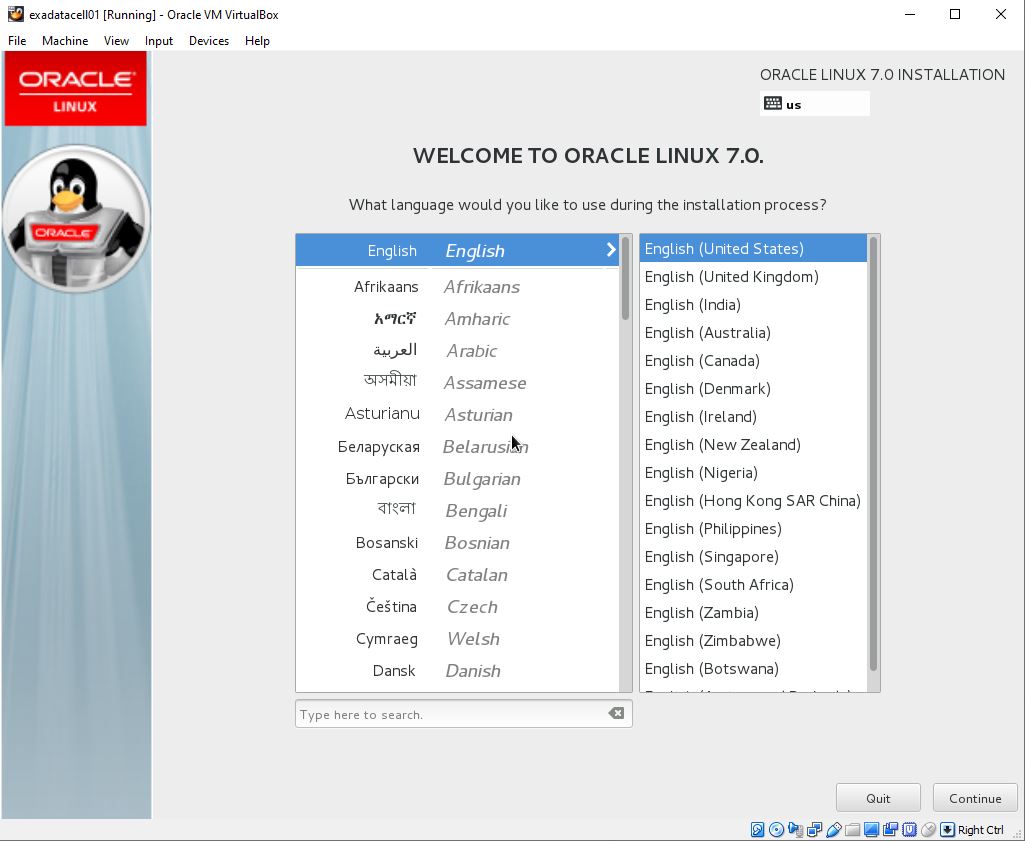
Select the Language for Installation
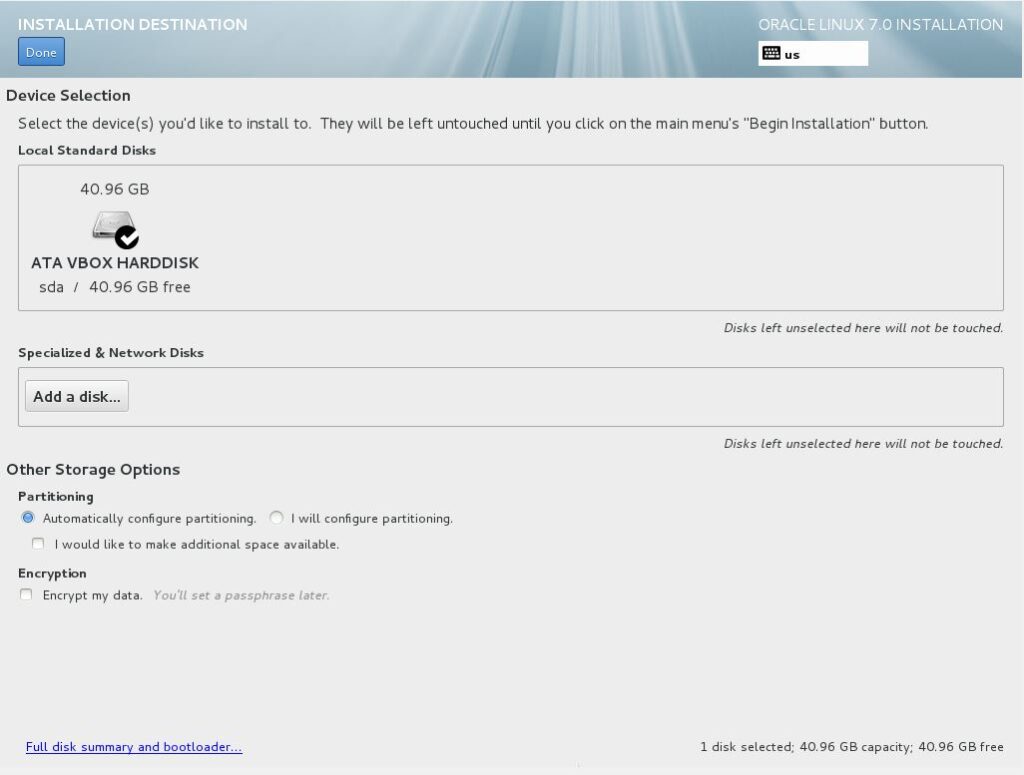
Click on ‘Installation Destination’
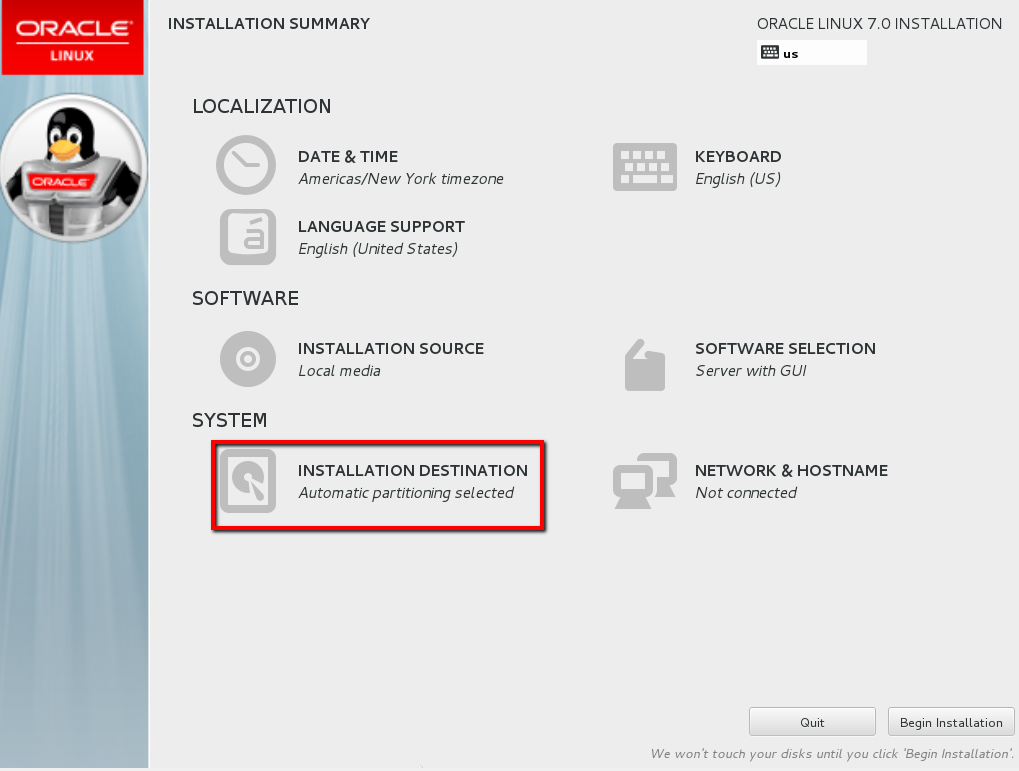
You may choose default option or change based on your requirement. Click on ‘Done’ to go back the previous page.
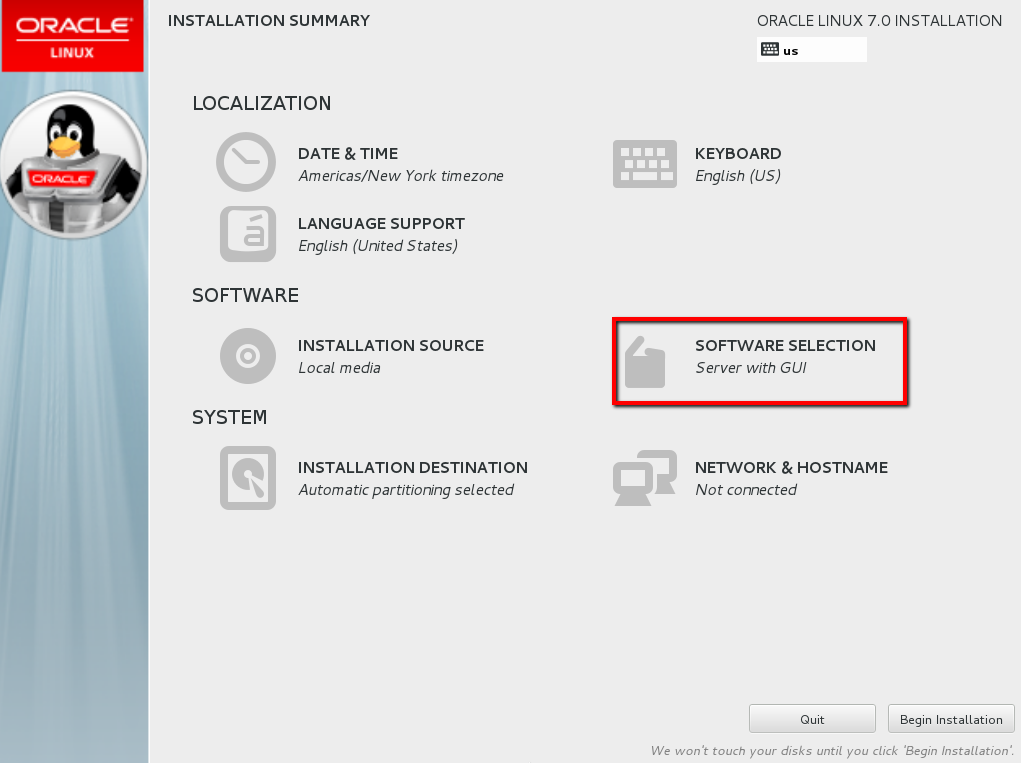
Click on ‘Software Selection’
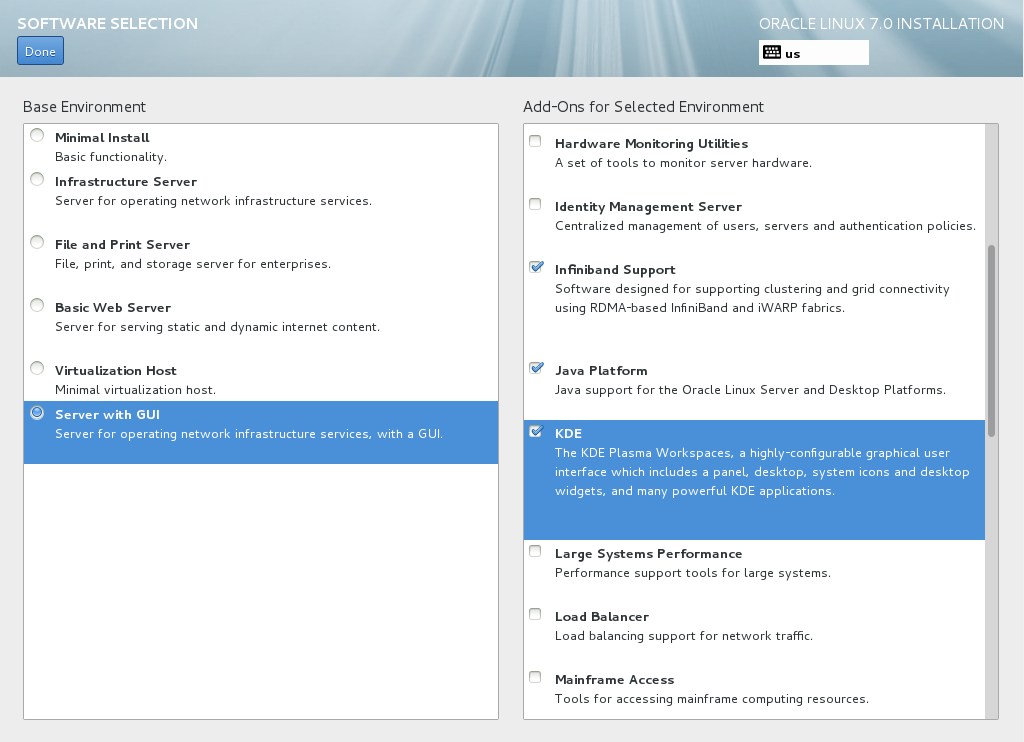
- Server with GUI -> Compatibility Libraries
- Server with GUI -> Development Tools
- Server with GUI -> KDE
- Server with GUI -> Infiniband Support
- Server with GUI -> Java Platform
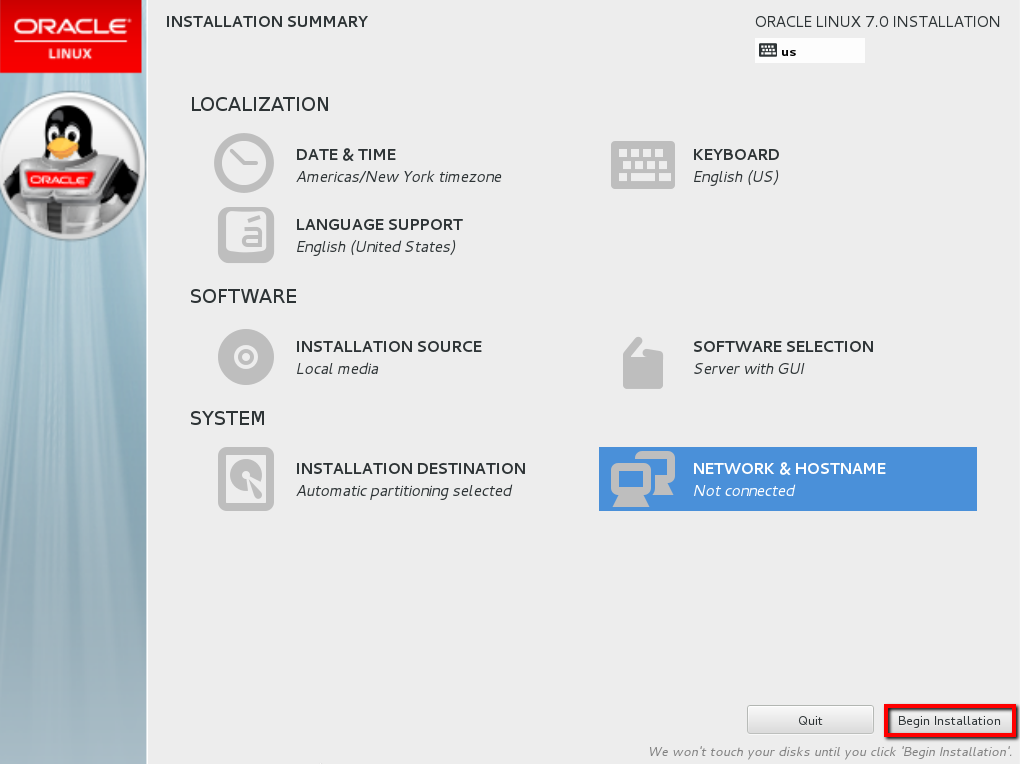
Click on Begin Installation
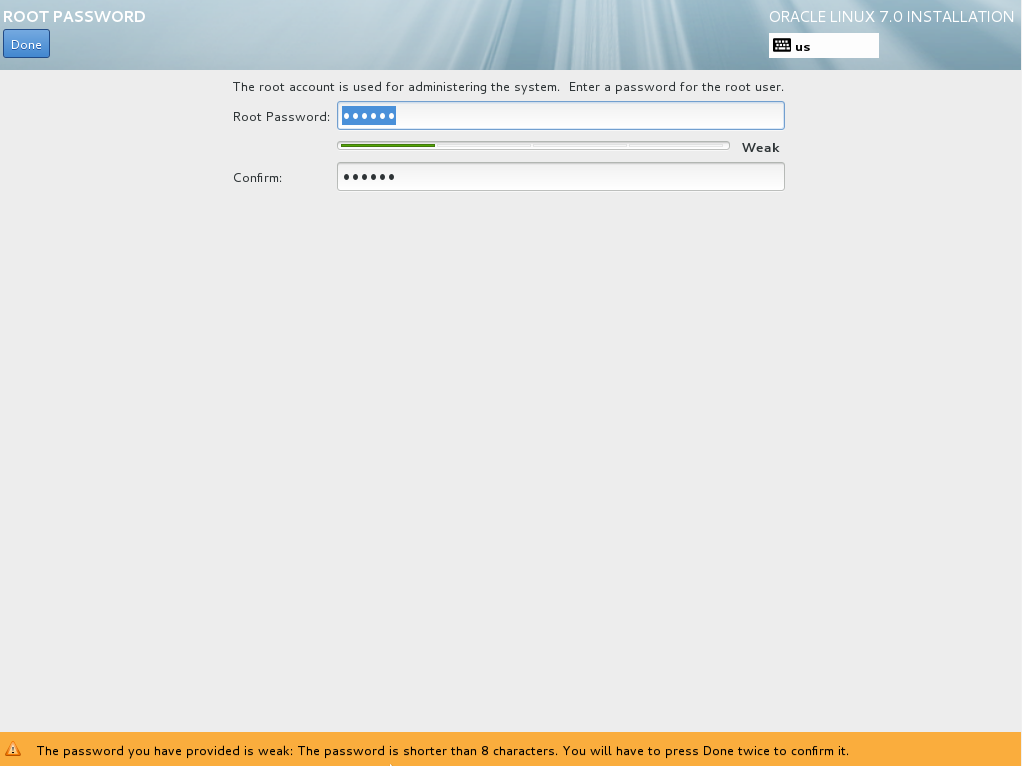
Installation process will start. Parallel you can provide the root password by clicking on ‘ROOT PASSWORD’

Enter root password and Click on Done.
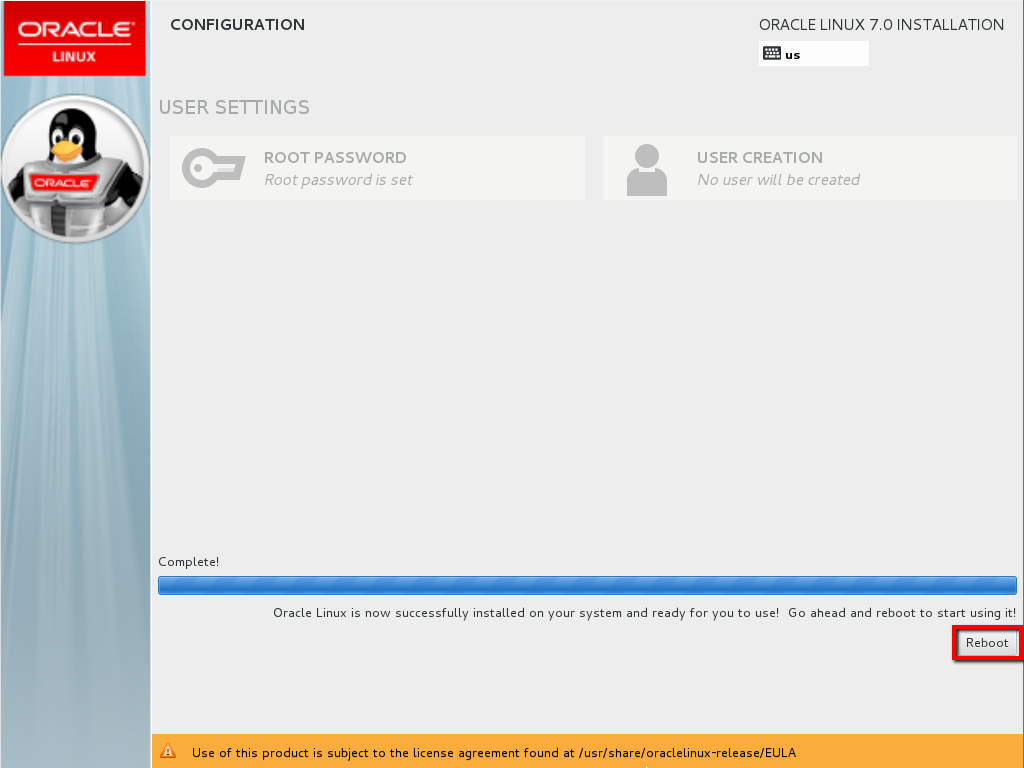
Installation Processes are completed. Click Reboot.
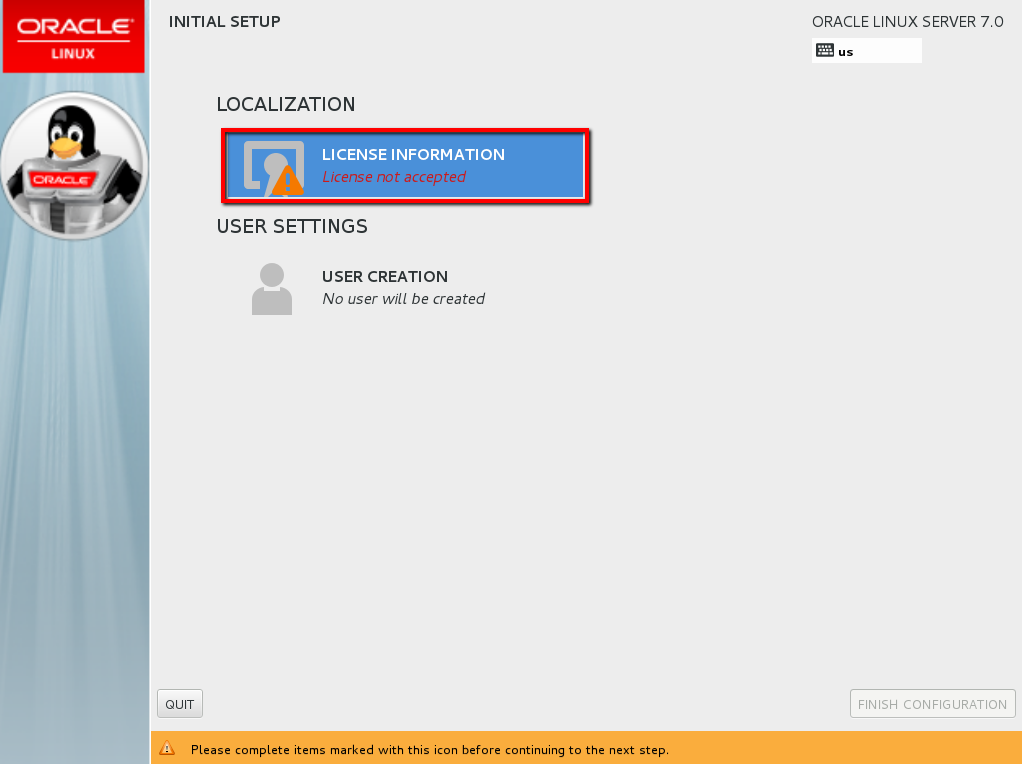
Click on License Information.
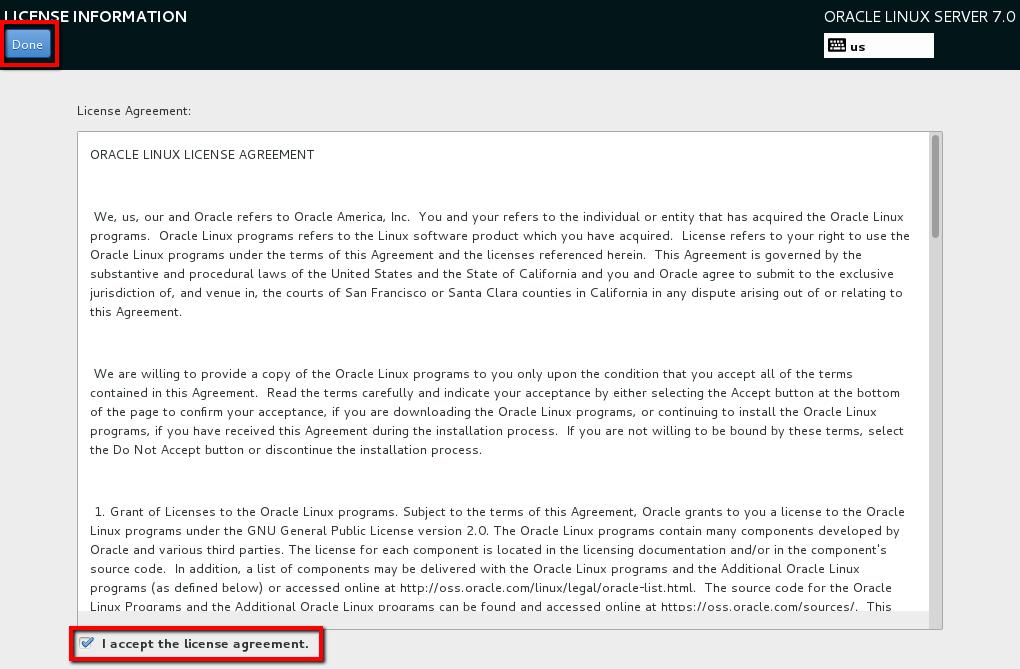
Accept the License Agreement and Click on Done.
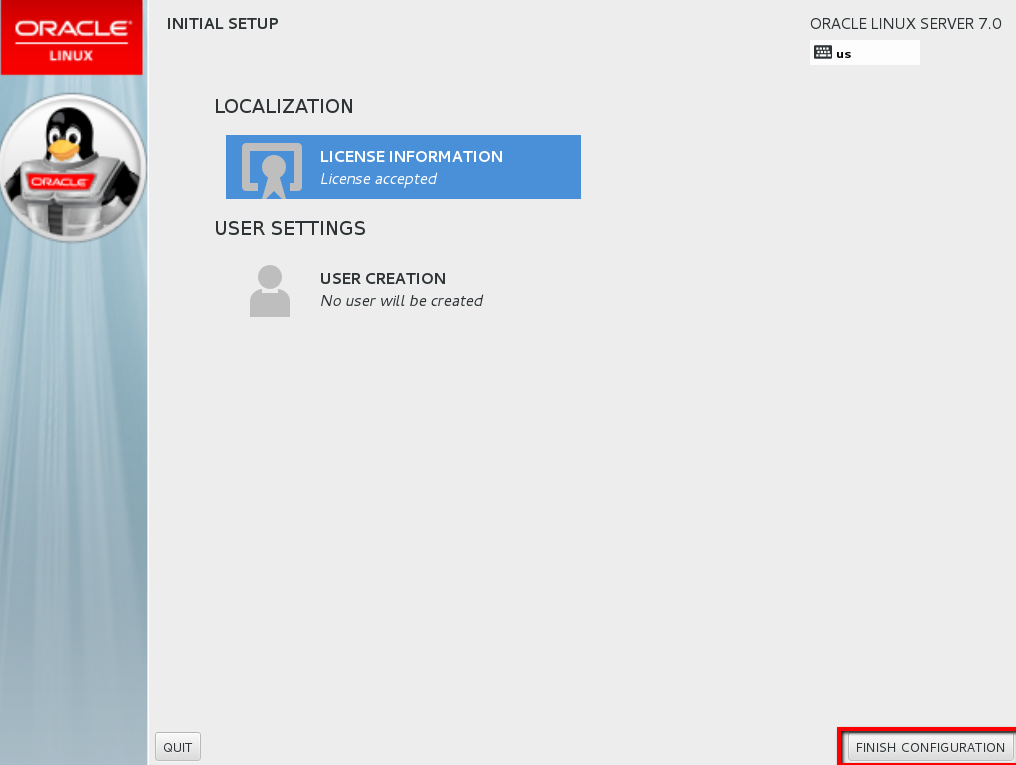
Click on Finish Configuration.
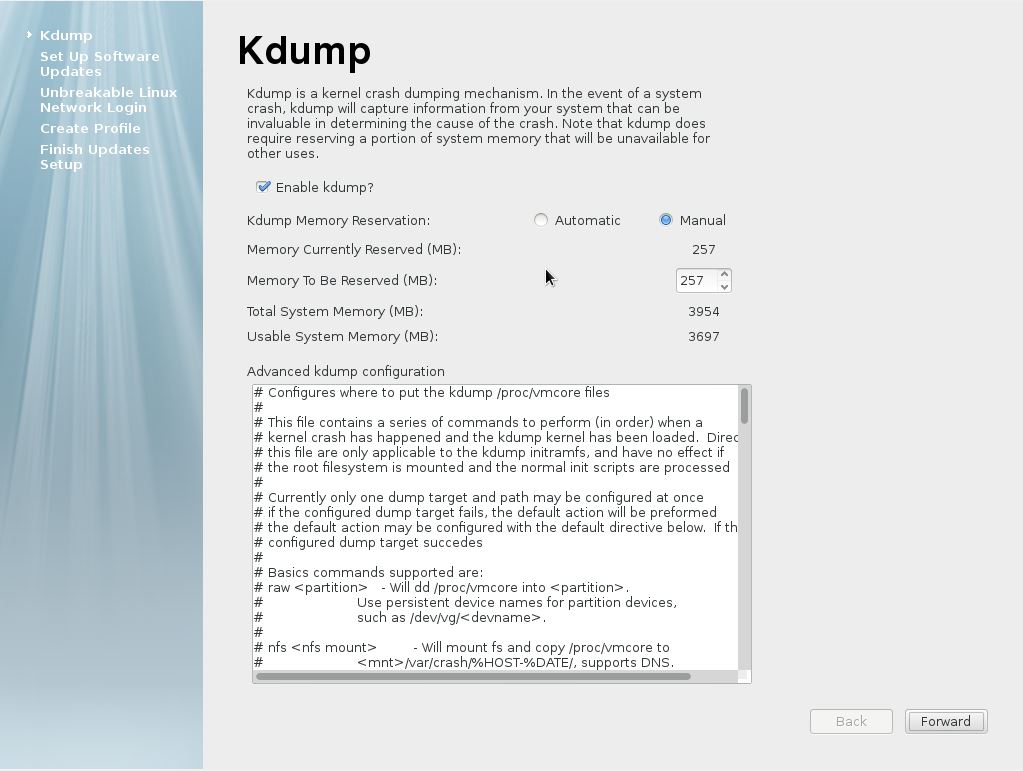
Keep the default settings and Click on Forward.
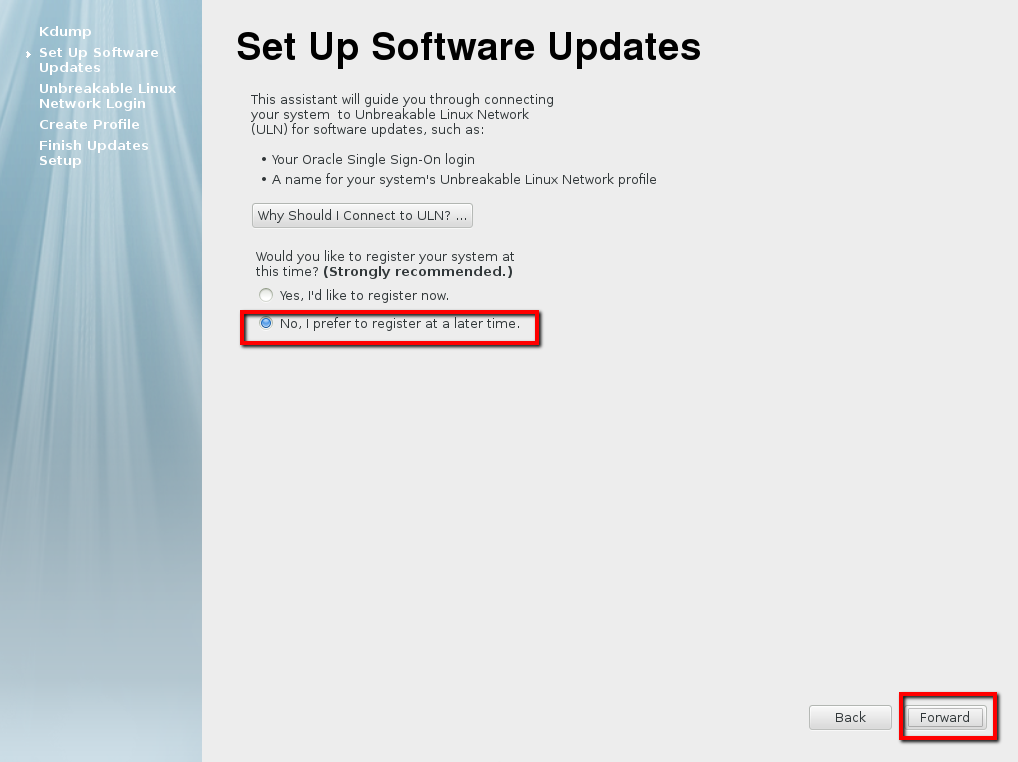
Choose ‘No, I prefer to register at a later time.’ Click on Forward
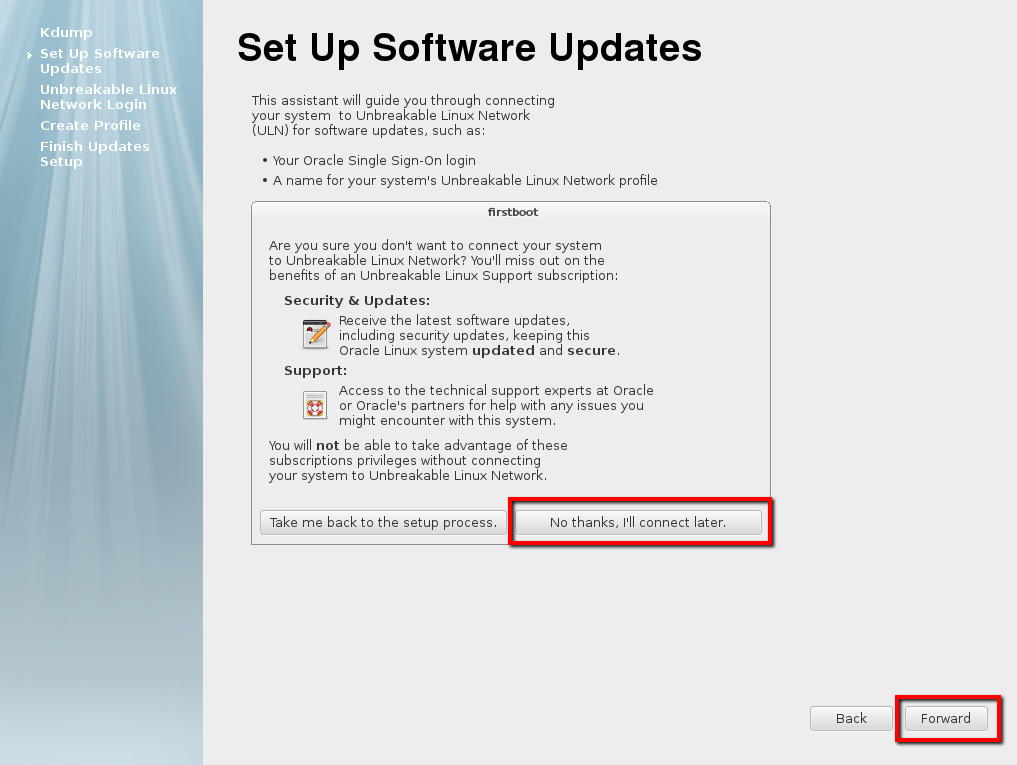
For Setting up software updates, Click No, Thanks, I’ll connect later then Click on Forward.
Click on Forward.
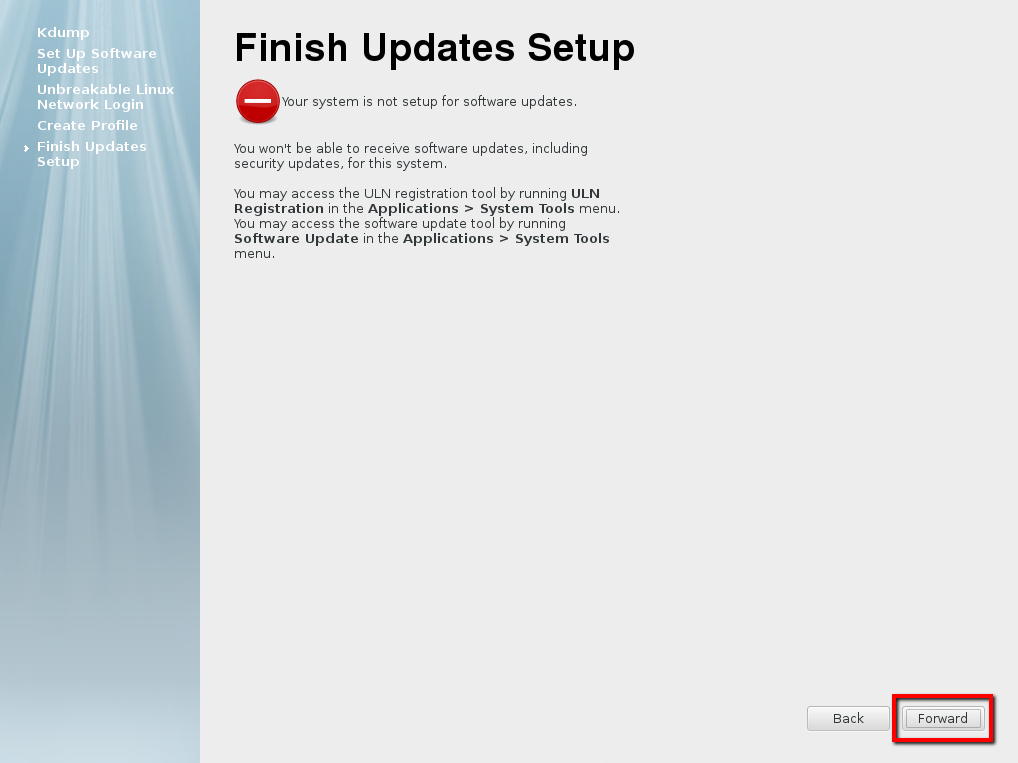
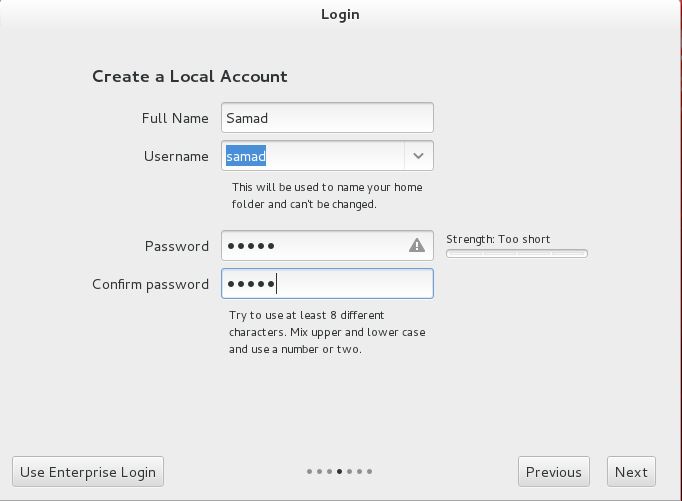
Create a Local User. Click Next.
Network Setting:

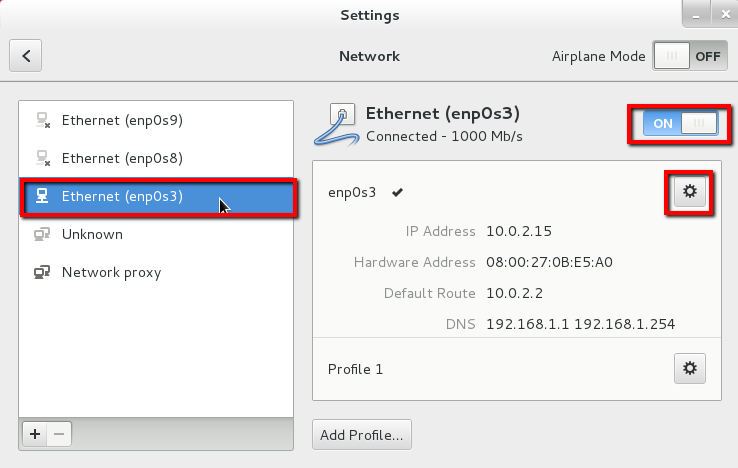
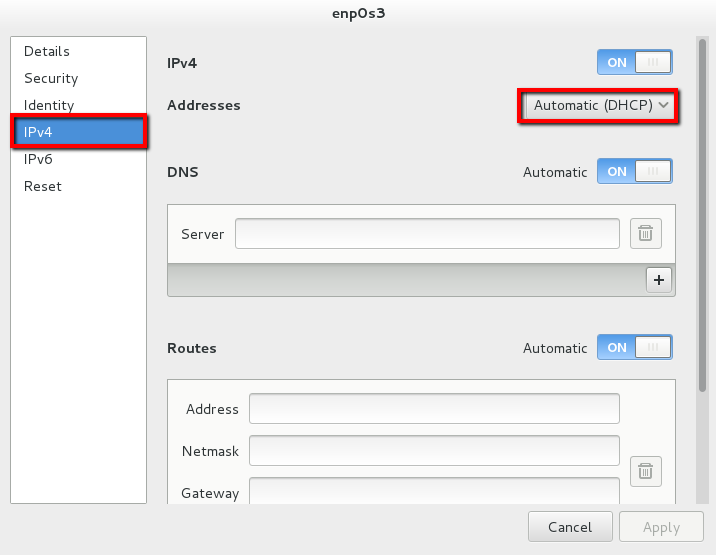
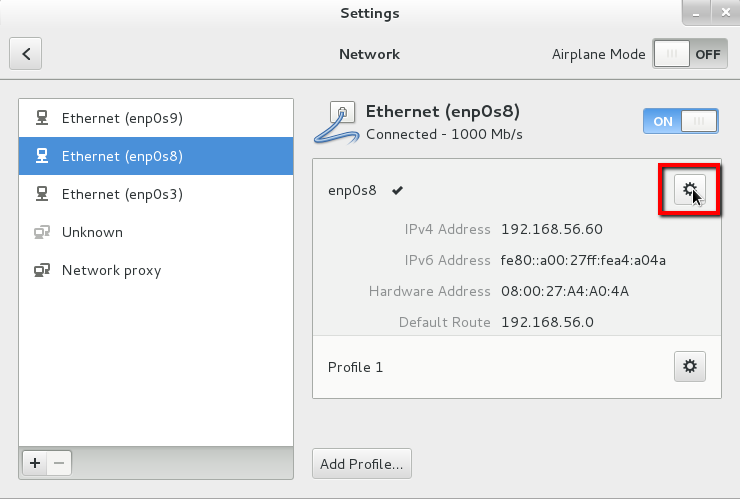
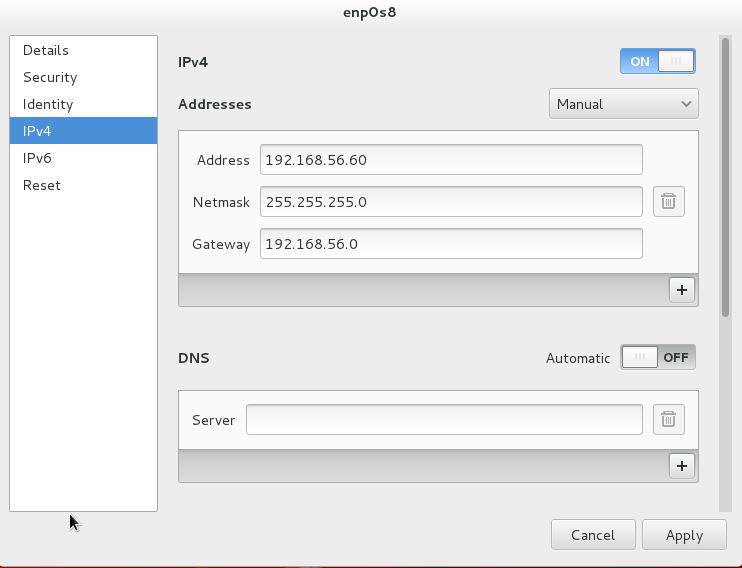
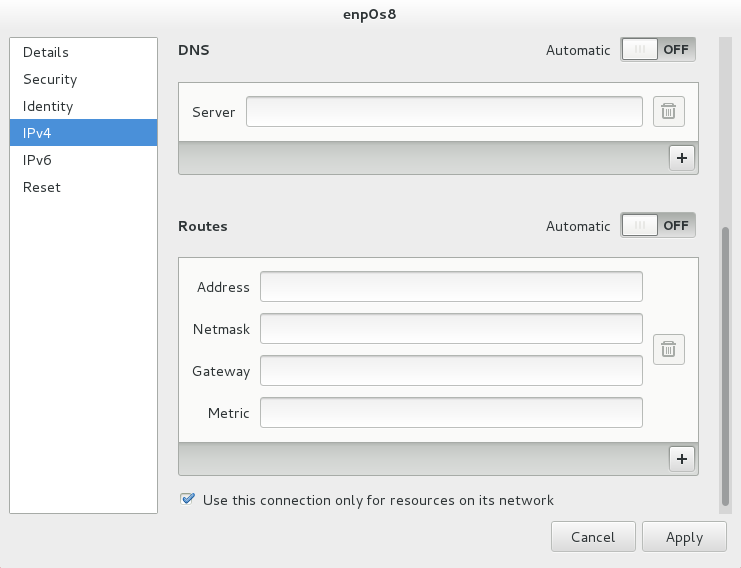
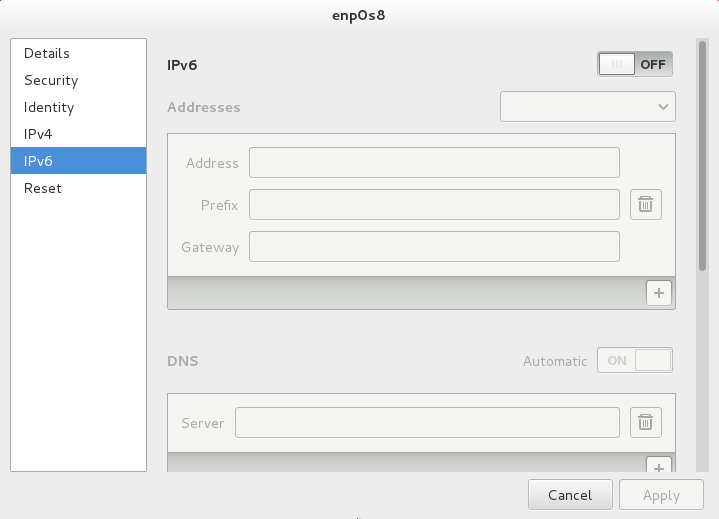
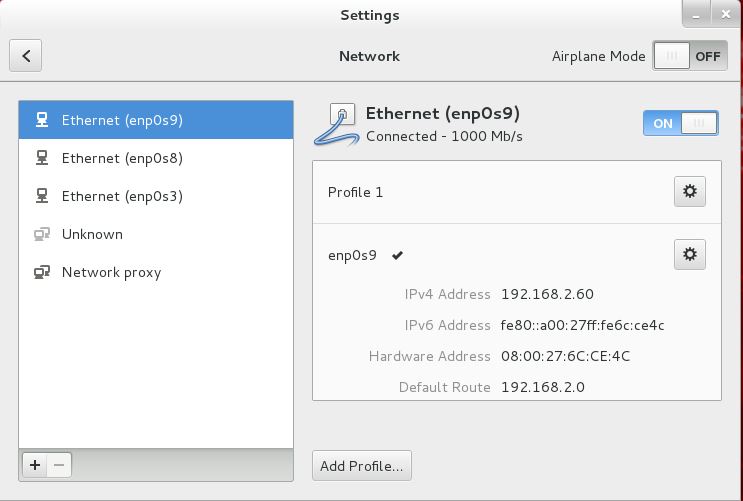
Change Host Name:
[root@unknown080027821815 ~]# vi /etc/hostname
[root@unknown080027821815 ~]#
[root@unknown080027821815 ~]# cat /etc/hostname
ol71db19c.localdomain
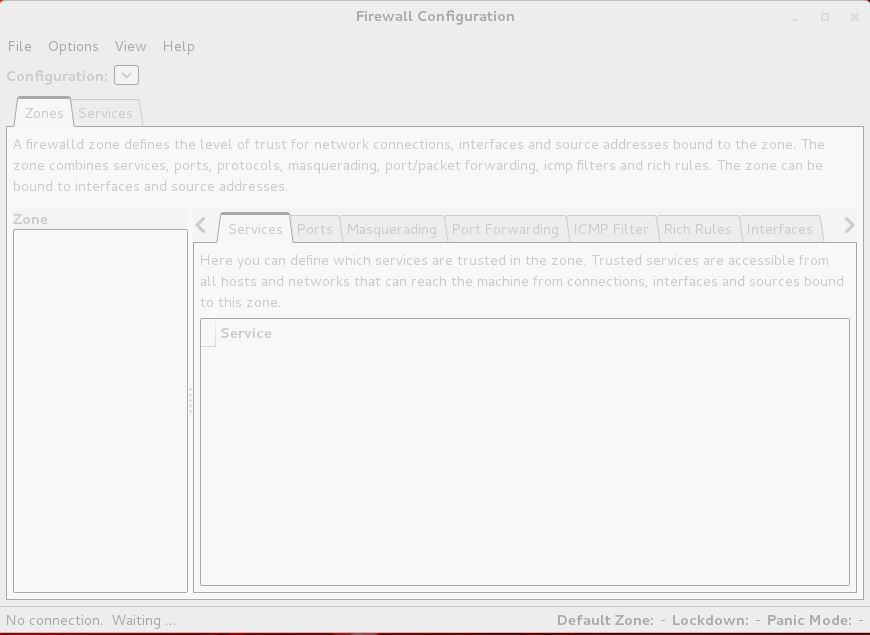
Disable Firewall:
[[email protected] ~]# systemctl stop firewalld
[[email protected] ~]# systemctl disable firewalld
rm '/etc/systemd/system/dbus-org.fedoraproject.FirewallD1.service'
rm '/etc/systemd/system/basic.target.wants/firewalld.service'


1 pings
[…] 2. Install Oracle Linux 7.1. OEL 7.1 […]